


Basement Remodel: Don’t Overlook These Critical Concerns
Finishing a basement remains one of the most popular home improvement projects for good reason. It unlocks potential square footage, increases property value, and provides that perfect spot for a home theater, a guest suite, or a playroom for the kids. You likely have Pinterest boards full of color palettes, flooring samples, and lighting ideas. But amidst the excitement of choosing paint colors and furniture, a silent, invisible threat often goes unnoticed until the project ends.
That threat is radon gas.
Because basements sit directly in the ground, they serve as the primary entry point for soil gases. When you renovate, you change the building envelope. You might tighten up the airflow with new insulation or cover up the concrete slab with new flooring. Without proper planning, you could inadvertently trap dangerous levels of radioactive gas inside your new living space. Before you frame the first wall or lay the first tile, you must understand how radon interacts with your home and take specific steps to mitigate the risk. Continue reading to explore the critical concerns you shouldn’t overlook during a basement remodel.
Overlooked Concerns During a Basement Remodel
Contractors and homeowners often focus on the visual aspects of a remodel—drywall, trim, and lighting. However, ignoring the underlying mechanics of the basement can lead to difficult and expensive fixes later.
Ignoring Existing Radon Mitigation Systems
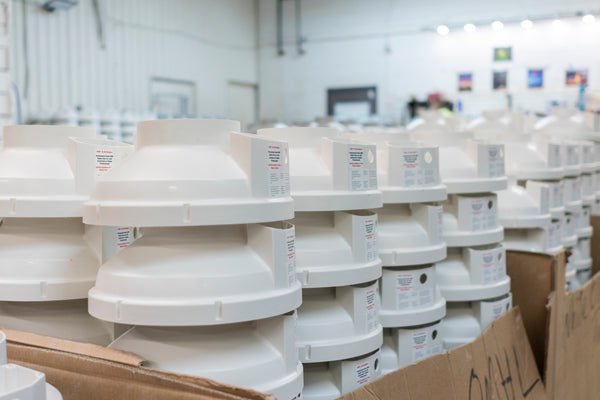
If your home already utilizes a radon mitigation system, you must protect it during renovation. Often, homeowners or contractors view the vent pipe as an eyesore. They might try to bury it inside a wall without proper clearance or, worse, disconnect it to move it.
Modifying an active radon system requires precision. The system relies on specific airflow and pressure metrics to function. Boxing in a radon fan without leaving an access panel prevents future maintenance. If the fan fails, you need accessible routes to replace it. Changing the configuration of the vent pipe can reduce the system’s efficiency, rendering it useless. You must maintain the integrity of any existing system throughout the construction process.
Improper Sealing of Cracks and Openings
Before you install a subfloor or roll out carpet, you need to examine the concrete slab. Hairline cracks and the expansion joint (where the wall meets the floor) offer direct highways for radon gas.
Many remodelers skip the step of sealing these openings because they plan to cover the floor anyway. Skipping this is a mistake. Carpet, laminate, and wood flooring do not stop gas from passing through. Instead, the gas seeps through the cracks and pools beneath the flooring, eventually diffusing into the room. Once you install the finished floor, accessing these entry points to seal them becomes impossible without ripping everything up.
Neglecting Ventilation
Remodeling usually creates a tighter, more energy-efficient space. You add insulation to the rim joists, install energy-efficient windows, and seal gaps to prevent drafts. While great for energy bills, this tightness reduces the natural air exchange rate.
If radon enters the basement, it stays there longer because the fresh air does not dilute it as effectively as before. A drafty, unfinished basement might have had moderate radon levels simply because the wind blew through it. A sealed, finished basement traps the gas, potentially causing concentration levels to spike. You must account for how the new layout will circulate fresh air.

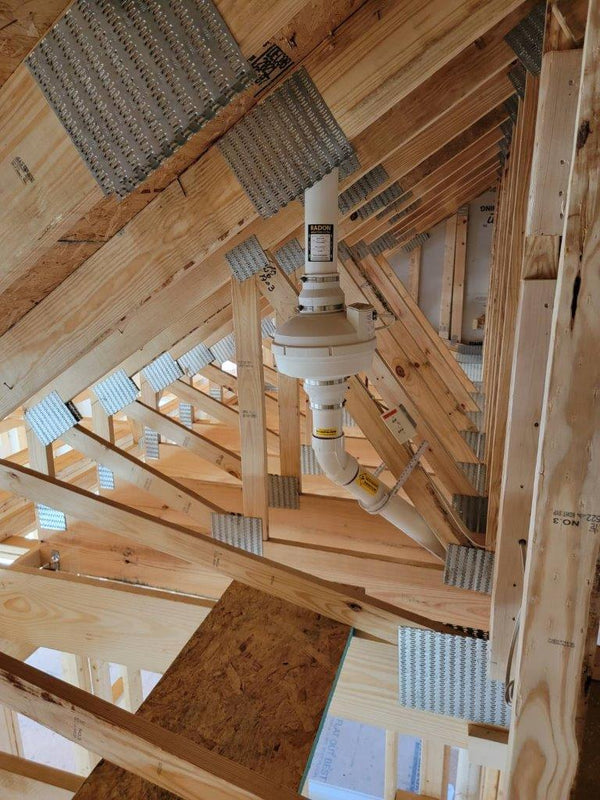
Implementing Radon-Resistant Construction Techniques
The best time to address radon is while the basement remains unfinished. You can incorporate preventative measures that integrate seamlessly with the design.
Using Radon-Blocking Concrete Sealers
One effective method for reducing radon infiltration involves treating the concrete slab itself. Concrete is naturally porous. To combat this, you can apply a radon-blocking concrete sealer to the floor and walls. These specialized penetrating sealers soak into the concrete and chemically react to fill the microscopic pores.
Applying this sealer hardens the concrete and creates a barrier that resists gas transmission. It serves a dual purpose: mitigating moisture issues and blocking radon. Applying this product before laying down your subfloor or finished flooring provides an essential layer of defense that you cannot easily add later.
Proper Ventilation Strategies
To counter the issue of airtight basements, consider mechanical ventilation. An Energy Recovery Ventilator (ERV) or Heat Recovery Ventilator (HRV) can bring fresh outdoor air into the basement while expelling stale indoor air. These units transfer heat (and humidity, in the case of ERVs) between the air streams, so you don’t lose energy efficiency. Maintaining a steady flow of fresh air helps dilute any radon that manages to bypass your other defenses.
Testing for Radon After the Remodel
Many homeowners make the mistake of testing for radon once before the remodel, getting a low result, and assuming they remain safe forever.
Importance of Post-Remodel Radon Testing
Construction changes the pressure dynamics of a home. Installing a new HVAC return vent in the basement, for example, can increase suction from the soil, pulling in more radon. Adding a bathroom exhaust fan can do the same. Because the house operates as a system, you cannot predict exactly how the renovation will alter radon levels.
You must conduct a test after the work ends and the HVAC system runs normally. This test validates that your mitigation strategies worked and that the new environment remains safe for occupancy.
Interpreting Radon Test Results
Radon levels fluctuate based on weather, seasons, and time of day. However, looking at the long-term average matters most. In the US, the EPA sets the action level at 4.0 picocuries per liter (pCi/L). If your post-remodel test shows levels at or above this number, you must take action to lower them. Even levels between 2.0 and 4.0 pCi/L pose some risk, and many organizations recommend considering mitigation in that range as well.
Working With Professionals
While the DIY spirit drives many basement projects, radon mitigation requires specialized knowledge.
Hiring Certified Radon Mitigation Specialists
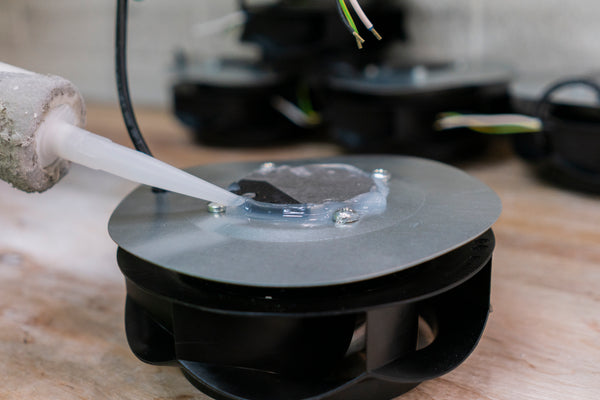
General contractors are excellent at building walls and hanging drywall, but they often lack training in the physics of soil gas. A certified radon mitigation specialist understands the science of airflow, pressure field extension, and fan sizing.
If you need to install a system, a certified pro will perform diagnostic testing. These professionals drill small holes in the slab to measure how easily air moves under your house. This data dictates exactly where to place suction points and what size fan to use. Guessing at these metrics often leads to loud, inefficient systems that fail to reduce radon levels.
Ensuring Proper Installation and Compliance
Building codes regarding radon continue to evolve. A professional stays up to date on these requirements, ensuring that your discharge pipes terminate in the correct location and that the electrical components meet safety standards. They also know how to install the system so it doesn’t violate fire codes when passing through ceilings or garage walls. Bringing in a pro safeguards your family and protects your investment when you eventually sell the home.

Prioritizing Radon Mitigation
Creating a beautiful finished basement means understanding the overlooked areas of concern and addressing them. It represents an investment in your lifestyle and your property. However, that investment loses value if the space poses a health risk to those who use it. By understanding how radon enters the home and taking proactive steps during construction, you build a foundation of safety. Don’t let radon remain an afterthought. Address it head-on during the design phase, and you will create a comfortable, functional space that your family can enjoy with total peace of mind.