



How To Size a Radon Fan Correctly for Your Home
Choosing a radon fan can feel like shopping for equipment without knowing which specifications count. You want to lower radon levels, but how do you know which model suits the space beneath your floors? A fan that’s too weak may leave parts of the foundation without enough suction, while an oversized model may waste electricity. The right choice starts with understanding your home rather than guessing from its square footage. Here’s how to size a radon fan correctly for your home.
First, a Radon Test
Before comparing radon fans, learn how much radon your home contains. Use an appropriate test kit or hire a qualified tester, then follow the instructions carefully. Homeowners should take action at 4 picocuries per liter or higher, although lower levels still carry some risk. Testing identifies the problem, but the result alone can’t tell you which fan to buy.
Keep a copy of your test results and note where you placed the device. After installation, another test will show whether the system lowered the radon concentration in your living space.
Look Beyond Square Footage
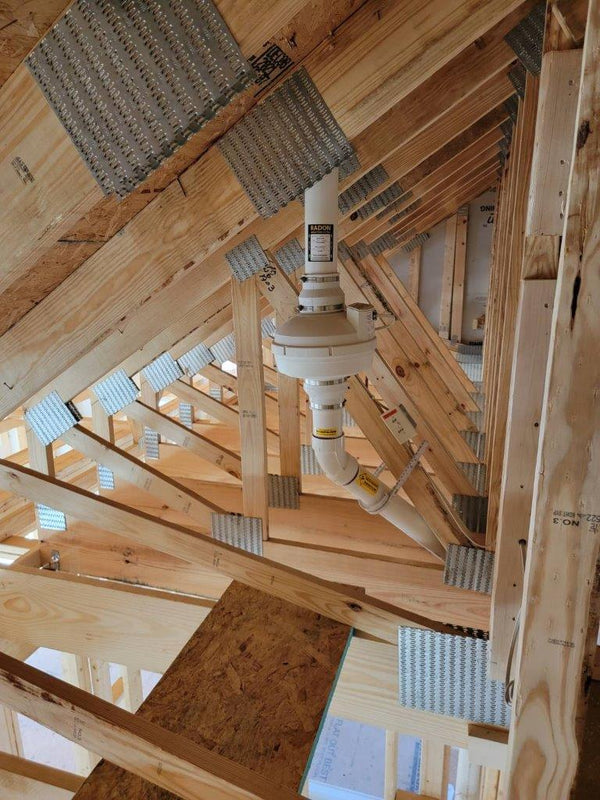
Home size provides useful context, but it doesn’t determine fan capacity on its own. An active mitigation system draws soil gas from beneath a foundation and vents it outdoors through a vent pipe. The fan needs sufficient suction to draw gas away from areas where it could enter your house.
Imagine two homes with identical floor plans. One sits on a continuous layer of loose gravel, while the other has compact soil beneath its slab. Because air moves differently through those materials, each system may need a different combination of suction and airflow.
Know Your Foundation
Start by identifying whether your house has a basement or a crawl space. Tell your contractor if other rooms sit on a concrete slab. A house with several foundation types may require additional suction points to reach separate areas. Interior footings can also interrupt the movement of air beneath concrete.
Crawl spaces need special consideration. A professional may recommend sealing the exposed soil with a durable membrane and drawing gas from beneath that covering. The fan must suit the resistance of that system rather than the airflow needs of an ordinary ventilation fan.
Consider the Soil
The material beneath your floor affects how easily a fan can draw air toward the suction point. Crushed stone typically provides open pathways for airflow, whereas dense soil may offer more resistance. A contractor can inspect the material near a proposed suction opening.
If air moves easily beneath the slab, a system may need to handle more airflow at relatively low suction. Tighter conditions may call for a model that can maintain stronger suction while moving less air. Neither situation automatically requires the largest fan on the shelf.

Check Suction Reach
A radon professional can perform diagnostic testing to determine how effectively suction moves under your foundation. The contractor creates temporary suction at a proposed collection point, then measures pressure changes at other locations beneath the slab. This process helps determine whether a single suction point can reach the areas that need coverage.
Professionals call this pressure field extension. If a concrete footing separates two sections, suction on one side might not reach the other. The solution could involve a different collection point or additional piping rather than a stronger fan.
Understand Airflow and Pressure
Fan specifications often include airflow in cubic feet per minute, or CFM. That number describes how much air the fan moves under particular conditions. Manufacturers also rate pressure in inches of water column to describe the resistance a fan can overcome.
Higher CFM doesn’t automatically mean better radon control. A high-airflow fan may perform well beneath an open gravel bed but struggle to develop enough suction against a restrictive soil layer. A high-suction model may suit tighter conditions yet move less air. Correct sizing requires both measurements, not just the largest number on a product label.
Read the Performance Curve
A manufacturer’s fan curve shows the relationship between airflow and pressure. As resistance rises, the amount of air a typical fan can move changes. The curve helps a professional predict how the model will perform once it connects to your actual mitigation system.
Look for performance ratings at a specified pressure rather than comparing maximum airflow figures alone. Maximum airflow often describes operation with very little resistance, which doesn’t reflect conditions under every house. Festa Radon Technologies provides performance information for its fan models, giving installers a way to compare suitable options.
Review the Vent Piping
The pipe connected to your fan influences airflow as well. Long pipe runs create resistance, and sharp turns can add more. Pipe diameter also affects how readily gas travels through the system.
Don’t choose a fan simply because its connection fits your existing pipe. The connection size tells you whether components can join, not whether the motor will deliver the required suction. A poorly planned route can limit performance even when the fan looks powerful on paper.

Avoid Oversizing
Buying the strongest available model might sound like an easy way to play it safe. However, extra capacity can increase electricity use and create unnecessary noise. Greater suction may also draw more conditioned indoor air through foundation openings, which can affect comfort and energy costs.
A modestly sized fan can work well when the contractor designs the suction point and seals significant leaks. Conversely, a more powerful model won’t necessarily overcome a foundation barrier that blocks suction from reaching another section.
Replace Fans Carefully
If your home already has a mitigation system, check the existing fan’s model information before shopping for a replacement. Record the pipe diameter and note the current manometer reading while the system operates. Share those details with a qualified contractor, along with any recent radon test results.
An old model number provides a starting point, not proof that the original fan had the right capacity. If radon levels remain high or the system has changed, the contractor may need fresh diagnostics. Never assume that a louder fan or a higher gauge reading means better protection.
Test the Finished System
After installation, your contractor should verify suction beneath the foundation and check system operation. A manometer helps you see whether the vent pipe maintains a pressure difference, but it doesn’t measure indoor radon. Only a radon test can tell you how much gas remains in your living space.
Arrange a follow-up test within 30 days, no sooner than 24 hours after the fan starts running. Keep the fan operating continuously, and check its warning device regularly. Retest at least every two years to confirm that the system continues reducing radon.
Make an Informed Choice
Understanding how to size a radon fan correctly for your home gives your mitigation system a stronger starting point. A qualified radon mitigator can match airflow and suction to your foundation while accounting for resistance in the vent piping. The final radon test tells you whether that plan worked.
When you’re ready to compare equipment, explore the radon fan selection at Festa Radon Technologies. Its performance information can help you discuss options with your installer, so you can choose a model that fits your system and focus on the air your family breathes.