


How To Address High Radon Levels in Older Homes
Older homes often have character, solid materials, and details that newer houses can’t match. They can also come with hidden air quality concerns that homeowners don’t notice right away. Radon fits into that category because you can’t see it, smell it, or taste it. The only way to know the level inside a home comes from testing.
High radon levels can affect homes of any age, but older homes often need a closer look because builders used different materials, foundation styles, and ventilation methods decades ago. Cracks, gaps, stone foundations, unfinished basements, crawl spaces, and settling can all create pathways for radon to enter. When you understand how to address high radon levels in an older home, you can take practical steps to lower levels and support a healthier living space.
First Step: Radon Testing
Radon testing gives you the information you need before making any decisions. Many homeowners start with a short-term test because it offers a quick snapshot of current levels. Others choose a long-term test because it tracks changes over a longer period and provides a broader picture of the home’s air.
Older homes can experience fluctuating radon levels throughout the year. Heating systems, open windows, basement moisture, and seasonal pressure changes can affect how radon enters and moves through the house. For that reason, many homeowners test more than once, especially after major repairs or foundation work.
Place the test in the lowest occupied area of the home. A finished basement, lower-level family room, or first-floor room often works well. Follow the test instructions and keep windows and exterior doors closed. Avoid placing the device near drafts, humidity, or heat sources. Proper placement helps you get a more accurate reading.

Find Common Entry Points
Radon usually enters through openings in a home’s foundation and lower levels. Older homes often have more of these openings because materials shift over time. Concrete floors can crack, mortar can loosen, and pipes can leave gaps. Sump pits can connect indoor air to soil gas beneath the home.
Walk through the basement or crawl space and look for visible cracks, open joints, exposed soil, gaps around plumbing, and unfinished floor areas. Pay close attention to areas around utility penetrations. Builders often cut openings for water lines, drainpipes, electrical lines, or HVAC equipment, and those openings can allow soil gas to enter.
Some older homes have fieldstone or block foundations. These materials can create more pathways than poured concrete because they contain joints and small openings across a wider surface area. Homeowners can seal some visible gaps, but sealing alone rarely resolves a high radon problem. It works best as part of a larger mitigation plan.
Understand How Air Pressure Works
Radon enters a home because pressure differences pull soil gas through the foundation. Warm indoor air rises and exits through upper levels, especially in colder months. As air leaves the home, lower levels can draw replacement air from the soil beneath and around the foundation.
Older homes often leak more air than newer homes. Attic gaps, old windows, unsealed chimneys, and loose framing can increase pressure changes. That doesn’t mean fresh air solves radon. In many cases, uncontrolled air movement can pull more radon inside.
A radon professional looks at the home as a system. The foundation, basement, crawl space, HVAC setup, and ventilation patterns all affect the final approach. That broader view helps create a mitigation setup that fits the home instead of forcing a one-size-fits-all solution.
Use a Mitigation System
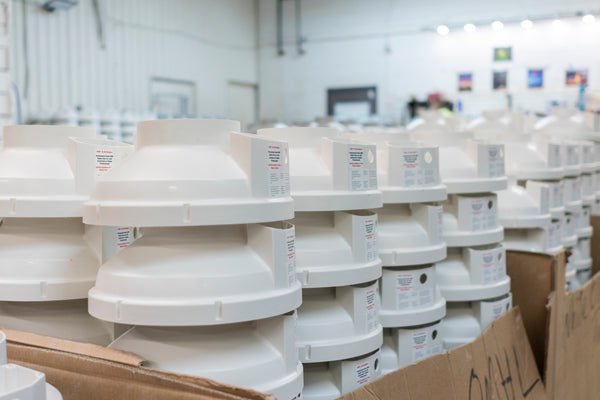
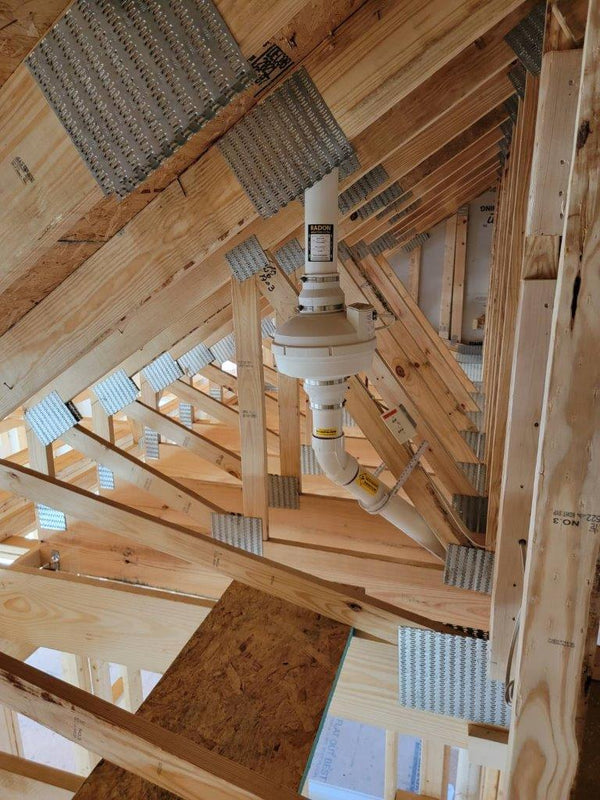
A radon mitigation system lowers radon by collecting soil gas from below the home and moving it outdoors before it enters the living space. Many systems use a pipe, a fan, and a discharge point. The fan creates suction below the foundation, and the pipe carries radon safely above the roofline or away from occupied areas.
Older homes may need a customized system because the foundation can include several materials or sections. A home might have a poured slab in one area, a crawl space in another, and stone foundation walls in the basement. A mitigation professional can design the system around those conditions.
The installer may create a suction point through the slab or use drain tile, a sump area, or a crawl space membrane. The right method depends on how the home’s lower level handles air and moisture. A good setup should lower radon levels without creating new moisture or ventilation issues.
Improve the Basement
Basements in older homes often need extra attention because they connect closely with the soil. Even when a basement looks clean and finished, hidden cracks or gaps may allow radon to enter. Homeowners can support mitigation by addressing those weak spots.
Seal cracks in the floor and foundation walls with products made for concrete or masonry. Cover and seal sump pits with airtight lids when the mitigation design allows it. Close gaps around pipes and wires with compatible sealants. These steps help the mitigation system pull from below the slab rather than from the basement air.
Avoid relying on open windows as a long-term fix. Open windows may lower radon temporarily, but weather, safety, comfort, and energy costs make that approach unreliable. A properly installed system gives the home a more consistent solution.
Handle Crawl Spaces Carefully
Many older homes include crawl spaces, and those areas can contribute to high radon levels. Dirt floors allow soil gas to move directly into the home. Even a vented crawl space can still allow radon to enter through floor gaps, duct openings, or shared walls.
A common solution uses a durable vapor barrier across the crawl space floor. The installer seals the seams, edges, and penetrations, then connects the area to the mitigation system. The fan pulls radon from beneath the barrier and directs it outdoors.
Crawl space work can also improve comfort and moisture control when the design matches the home’s needs. Homeowners should avoid quick fixes that only loosely cover the soil. A loose sheet won’t control radon well because air can still move around the edges and seams.
Choose the Right Fan Setup
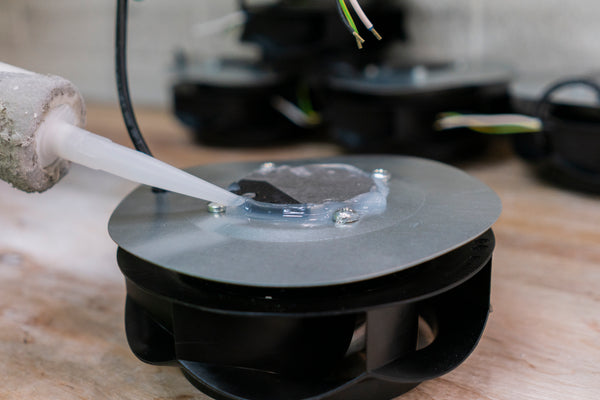
The radon fan plays a major role in the system’s performance. It creates the suction that moves radon out of the soil and away from the home. Older homes may need a fan that can handle more resistance, especially when the foundation has dense soil below it or multiple suction areas.
The installer should size the fan based on the home’s conditions. A fan that doesn’t create enough suction may leave radon levels high. A fan with too much power may create noise, energy waste, or other performance issues. The goal involves steady, effective airflow through the system.
Proper mounting also makes a difference. Radon fan mounting accessories can help support the fan, reduce vibration, and keep the system secure. A stable installation can also help the fan run more quietly and protect the piping connections over time.
Retest After Mitigation
Testing after installation confirms that the system lowered radon levels. Homeowners should test soon after the system begins running, then test again over time. Radon levels can change after renovations, foundation repairs, HVAC changes, or major weather events.
Keep a simple record of test results, service visits, and system changes. Older homes often receive updates over many years, and those records help future homeowners, contractors, or inspectors understand the home’s radon history.
A system monitor can also show whether the fan maintains suction. Check it regularly so you can spot changes before they become bigger problems. The monitor doesn’t measure radon, but it tells you whether the system continues to operate as intended.

Plan Around Renovations
Renovations can change radon behavior in older homes. Finishing a basement, replacing windows, adding insulation, sealing air leaks, or upgrading HVAC equipment can shift airflow and pressure. These improvements can make the home more comfortable, but they can also change how radon moves.
Test before and after larger projects when the lower level or air system changes. Before work begins, talk with the contractor about existing radon pipes, fan locations, sump covers, and sealed cracks. A renovation crew can damage or block system components if no one points them out.
Homeowners planning basement finishing should address radon first. It’s easier to install or adjust a mitigation system before walls, flooring, and ceilings cover access points. Early planning can save money and reduce later disruption.
A Safer Path Forward
High radon levels in an older home can feel unsettling, but the problem has clear solutions. Start with testing, learn where radon may enter, and use a mitigation system that fits the home’s foundation and layout. Older homes may need more planning, but they can still support effective radon reduction.
A thoughtful approach protects the home’s comfort, structure, and indoor air. With the right system, proper installation, and regular retesting, homeowners can manage radon with confidence and keep enjoying the character that makes an older home worth caring for.