

How To Install a Radon Mitigation System in Your Home
Radon, an invisible and odorless gas, can silently infiltrate your living space, posing a severe health risk. Taking action with radon reduction technology is crucial for the safety of your home and loved ones. In this comprehensive guide on how to install a radon mitigation system in your home, you will learn the step-by-step process and why you should hire a professional.
Understanding Radon
Radon is a naturally occurring radioactive gas that results from the breakdown of uranium in soil and rock. It seeps into homes through foundation cracks and openings and can build to hazardous levels. Prolonged exposure to elevated radon concentrations can cause lung cancer, making installing a radon mitigation system a vital protective measure.
What Is a Radon Mitigation System?
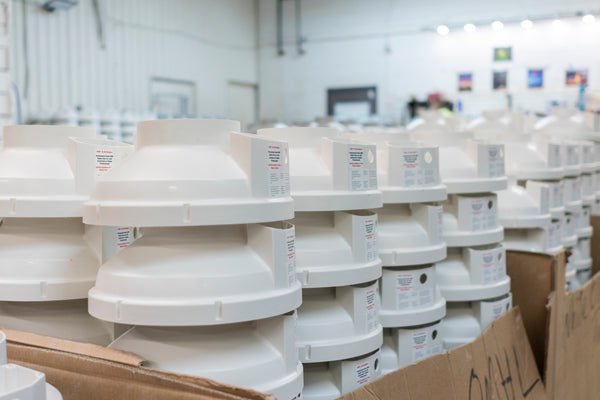
A radon mitigation system is a device that reduces the concentration of radon gas in indoor air. Typically consisting of a fan, piping, and a vent, the system creates a pressure differential that prevents radon from entering living spaces, thereby decreasing health risks.
What Tools and Equipment Do You Need for a Radon Mitigation System?
Installing a radon mitigation system involves several key components to reduce and expel radon gas from your home effectively. Here is a list of essential parts of a typical radon mitigation system:
- Radon fan: This creates suction to pull radon gas from beneath the home and expel it safely outdoors.
- PVC piping: This provides a pathway for radon gas to travel from the soil beneath the home to the exterior.
- Sealing materials: Including caulk, epoxy, and polyurethane sealants, these materials prevent radon gas from entering the home through foundation cracks, gaps, or openings.
- Manometer: This measures and indicates the pressure within the radon mitigation system, ensuring its functionality.
- Vent pipe: Whether a roof vent, wall vent, or pipe extension above the roofline, this releases radon gas safely into the outdoor air.
- Suction point: This goes beneath the basement floor or in a crawl space to collect radon gas for removal.
- Fan mounting bracket: This supports the radon fan securely, preventing vibrations and ensuring stability.
Remember that the specific parts necessary may vary based on factors such as the type of radon mitigation system, the layout of your home, and local building codes and regulations. You should consult with a radon mitigation professional to determine the most appropriate components for your specific situation.
Step-by-Step Guide to Installing a Radon Mitigation System
Step 1: Conduct a Radon Test
Conduct a radon test using readily available kits before deciding when and how to install a mitigation system. Start with a short-term test and follow up with another short- or long-term test to establish the baseline levels in your home. If you find radon concentration at 4 pCi/L or more, you should install a mitigation system as soon as possible.
Step 2: Select the Right System
Choose the most suitable mitigation system based on your home’s radon levels and design. The three most common types are as follows:
- Sub-slab suction
- Drain-tile suction
- Sub-membrane
Step 3: Make a Hole
If your home doesn’t have a sump pump, you will need to create an access point in the foundation. Find an area in your basement or crawl space to drill a hole large enough for the piping, typically 3 to 4 inches in diameter. You must dig out the soil to reach the granular or rocky layer.
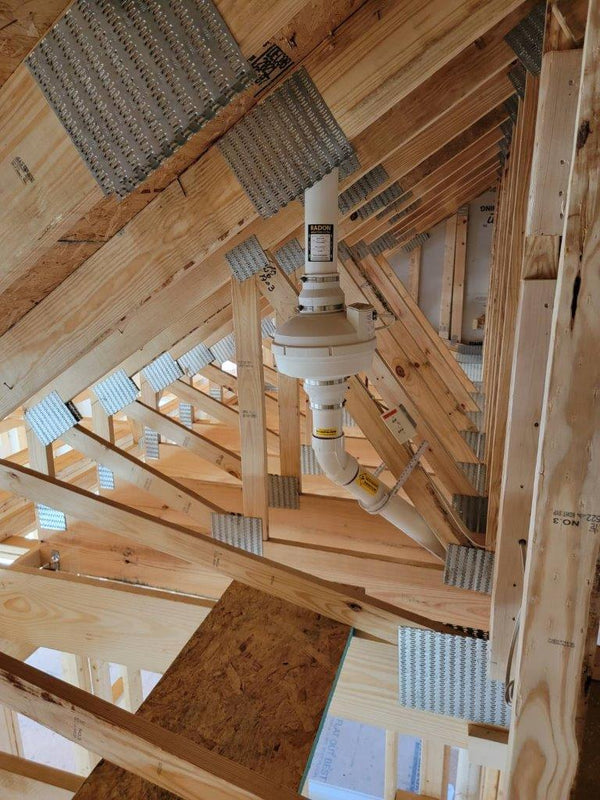
Step 4: Install PVC Piping
Create a pathway for radon gas using 3-to-4-inch PVC piping. This should reach from your access point, through the house, and into the attic. Often, you can run it through your garage and out your garage roof to keep it hidden. Ensure the piping comes out of the roof at a safe distance from the windows so the radon doesn’t come back into the home.
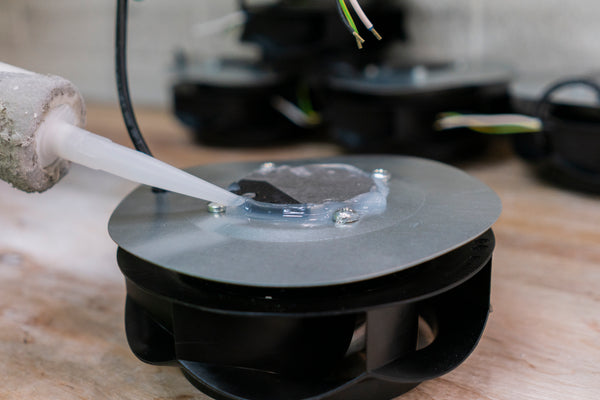
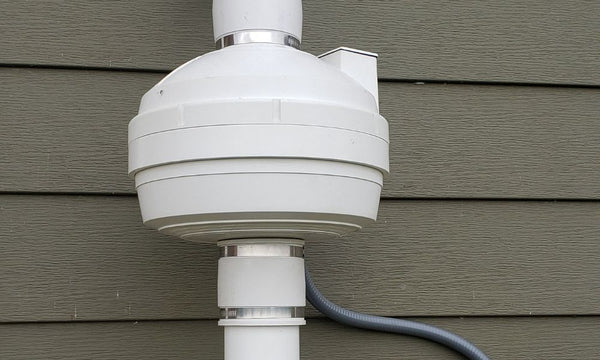
Step 5: Integrate a Radon Fan
The fan is the system’s core component, generating suction to draw gas from beneath the home. It will expel gas safely through the vent. It would be best to place the radon fan in the attic, garage, or outside.
Step 6: Establish Ventilation
Connect the piping to a vent, directing radon safely above the roofline. This step is crucial to release radon into the outdoor air, minimizing health risks.
Step 7: Seal Entry Points
Prevent radon from infiltrating your home by sealing foundation cracks, gaps, and openings. This ensures the mitigation system can effectively extract radon from beneath the structure. Use high-grade caulk and sealant to prevent this gas from seeping in.
Step 8: Test After Installation
Now that you have installed your radon mitigation system, check its effectiveness. Test your home with a short- or long-term test at least 24 hours after the system has been running. This will double-check that the installation was successful.
Why Hire a Professional?
While the prospect of a DIY radon mitigation system installation might seem enticing, the challenges and details in ensuring its effectiveness and compliance with local regulations make professionals invaluable. Below are reasons why opting for a seasoned radon mitigation professional is not just a wise choice but a crucial one.
Expertise and Customization
Radon mitigation is not a one-size-fits-all solution. Professionals bring a wealth of knowledge, assessing your home’s unique characteristics to tailor a mitigation system that addresses specific radon levels and structural nuances.
Navigating Local Regulations
Building codes and regulations regarding radon mitigation systems vary by location. Professionals are well-versed in these regulations, ensuring your system effectively reduces radon levels and complies with all local requirements.
Specialized Equipment and Techniques
Radon mitigation professionals utilize specialized tools and techniques for accurate radon level measurements. This precision is crucial in determining your home’s most effective mitigation strategy.
Quality Assurance
Professionals guarantee the quality and reliability of a mitigation system. This assurance is essential for your home’s long-term safety and its occupants’ well-being.
Installing a radon mitigation system in your home is a proactive step toward ensuring a healthy living environment. By understanding the risks associated with radon, selecting the right mitigation system, and enlisting professional help, you protect your home and prioritize the well-being of your loved ones. Take charge today to breathe more easily tomorrow. Your home deserves nothing less than the best defense against this silent threat.
