


How To Interpret Your Home’s Radon Levels
Understanding radon levels is essential for creating a safe home environment. Radon, an odorless, invisible gas, can enter your home through cracks in the foundation, gaps around pipes, and other small openings. It’s a naturally occurring radioactive gas that comes from the decay of uranium in the ground.
However, don’t be fooled by its natural origins; high levels of radon are considered a serious health risk and are a leading cause of lung cancer. If you’ve recently tested for radon and you’re asking yourself how to make sense of your radon test results, this post will help. We’ll explain how to interpret your home’s radon levels so you can decide what steps to take next.
Understanding Radon Measurement Units
In the United States, radon levels are commonly measured in picocuries per liter of air (pCi/L), which might sound technical, but it’s quite straightforward. A picocurie is a unit used to measure radioactivity, and a liter is the volume of air that’s being tested in your home.
The U.S. Environmental Protection Agency (EPA) has determined the action level, or a key safety threshold, of 4 pCi/L. This means that any home with radon levels at or above 4 pCi/L should take prompt action to reduce radon levels to protect the health of its inhabitants. While the EPA still encourages homeowners to take measures to control radon even if the levels are slightly lower, the 4 pCi/L mark is considered the critical threshold.
Radon Testing Best Practices: What To Know
Before you can interpret your home’s radon levels, you have to get a preliminary reading. That’s why testing your home for radon is the first step toward understanding this invisible threat. Here’s what homeowners need to know about doing it right.
Radon Testing Options
There are two primary types of radon testing available to homeowners:
- Short-term testing: These tests typically last for two to seven days. They’re quick and ideal for homeowners looking for immediate answers. Short-term kits are readily available and can offer a snapshot of your home’s radon levels.
- Long-term testing: Long-term tests measure radon levels for 90 days or more. They provide a more accurate representation of your home’s average radon levels over time since radon can vary due to seasonal or daily changes.
Both methods have their place, but for the most accurate picture, long-term testing is an effective way to get an overall understanding of your home’s radon levels.
Continuous Radon Monitors
Continuous radon monitors (CRMs) are electronic devices that provide constant readings of radon levels inside your home. These products are an excellent investment for those who want to track radon fluctuations closely and have more data for proactive management.
Proper Radon Detector Placement
To get accurate test results, place your radon detector in the correct location. Ideally, it should be in the lowest lived-in level of your home, such as a finished basement or in a ground-floor room directly above a crawl space. Avoid areas with drafts, excess moisture, or heat sources, such as kitchens and bathrooms, as they may skew results. Refer to the instructions in your radon test kit for more specific information.
Common Testing Errors
- Testing during storms or in extreme weather conditions
- Placing detectors near windows, vents, or fans
- Conducting tests over too short a time without following instructions
Avoiding these errors can produce reliable results that guide your next steps.

Interpreting Your Radon Test Results
Once you’ve completed radon testing, it’s time to evaluate the results. While there’s no safe level of radon, here’s what different ranges of radon levels might mean for your health and home.
Results Below 2 pCi/L
If your radon levels are below 2 pCi/L, your home is considered to have a low level of risk by the EPA. However, periodic retesting every couple of years is still recommended, as buildings can shift or settle over time, potentially opening new radon entry points.
Results Between 2 pCi/L and 3.9 pCi/L
This range is below the EPA’s action level but still worth addressing. You might not need a full-blown mitigation system, but simple fixes like improving ventilation or sealing small cracks in your foundation can help lower radon levels further.
Results at or Above 4 pCi/L
If your home’s radon levels are at 4 pCi/L or higher, it’s time to take immediate action. Seek a professional radon mitigation service to help you select a system that will reduce levels quickly and effectively. Professional services are especially critical for families with young children or individuals at a higher risk of lung health conditions.
Factors Influencing Radon Levels
Several factors can impact the radon levels in your home. Being aware of these can help you understand the cause of potential spikes.
Seasonal Variations
Radon levels often peak in the winter due to closed windows and an increased reliance on heating systems, which tend to draw higher amounts of radon into the home.
Geological Factors
The soil composition around your home can majorly influence radon levels. Homes built on uranium-rich rocky foundations and sandy soil may be more susceptible to higher radon levels.
Home Construction and Ventilation
The construction style and age of your home also matter. Modern airtight houses, while energy-efficient, may trap radon more easily compared to older, draftier homes. However, older and newer homes can have elevated radon levels.

Addressing the Problem: Radon Mitigation Techniques
If your tests reveal high radon levels, you can try these steps to fix the problem.
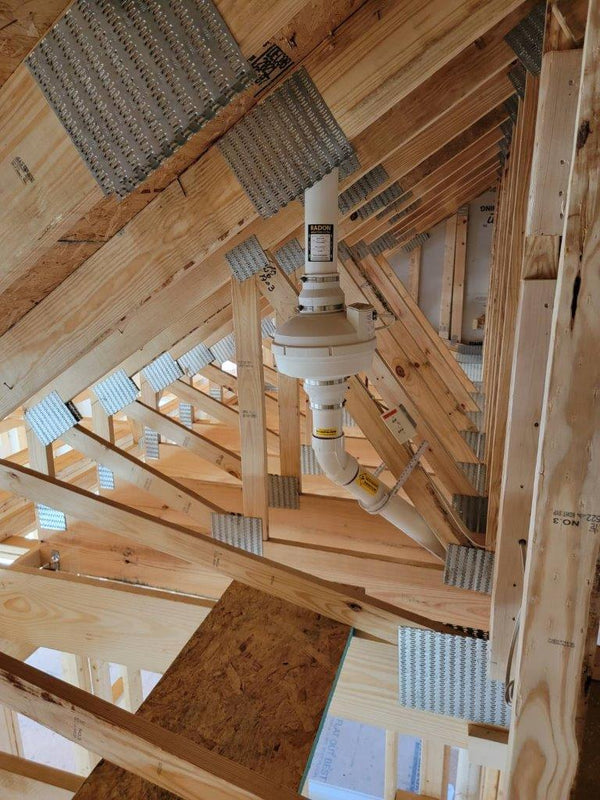
Radon Mitigation Systems
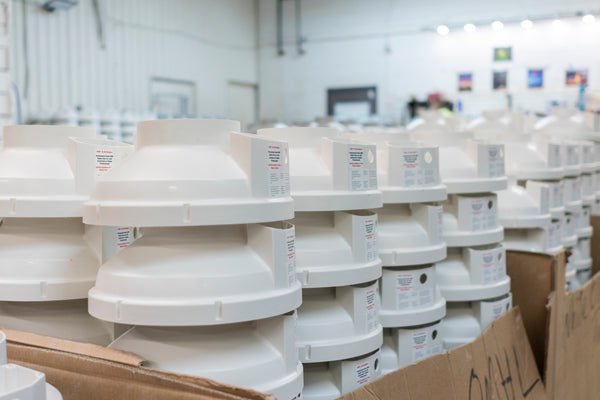
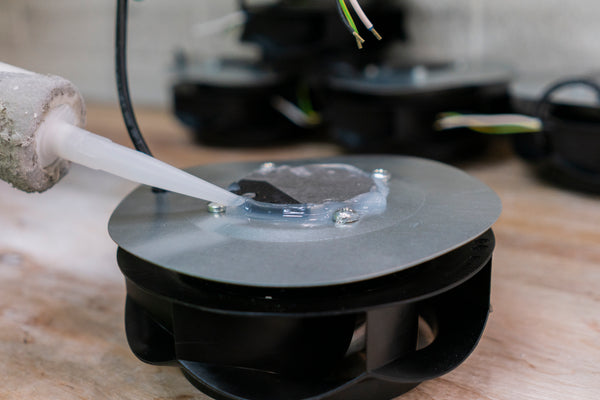
Radon mitigation systems are designed to reduce radon levels inside your home. The most common methods include:
- Sub-slab depressurization: A fan-driven system pulls radon from beneath your home’s foundation.
- Drain tile depressurization: This method works with existing sump pumps to draw radon out of your home.
- Block wall depressurization: Depressurization systems target radon trapped within basement block walls.
- Crawl space encapsulation: This solution seals crawl spaces to block radon entry.
Sealing Foundation Cracks
Sealing small cracks and openings in your home’s foundation and around pipes is a cost-effective way to reduce radon entry. Think of this as your first line of defense.
Lifestyle Considerations
How you use your home affects mitigation urgency as well. Families who spend a lot of time in lower levels should prioritize addressing radon. Additionally, smokers or those with young children should act swiftly, as they face greater risks of health complications caused by radon exposure.
Resources for Homeowners
You’re not alone when it comes to tackling radon. Here are several trustworthy resources to guide you further:
- State radon programs: Many states and local health departments offer free or low-cost radon testing kits.
- Certified radon professionals directory: Find trained experts in your area for testing and mitigation services. Radon fan manufacturers often maintain databases of certified radon professionals.
Knowing how to interpret your home’s radon levels is a key part of creating a healthy living space for you and your family. Whether your radon levels call for minor adjustments or a professional mitigation strategy, the steps you take today can impact your health and well-being tomorrow and long into the future.