


How To Prepare for a Radon-Safe Home Remodel
A home remodel changes more than floors, cabinets, and fixtures. Renovation work can change how air moves through the house, how tightly the building holds that air, and how pressure differences pull soil gases indoors. Those shifts can change radon levels even when the home looked fine before demolition starts. If you plan ahead, you can remodel with confidence and keep radon risk from creeping into the project. Continue reading to explore how to prepare for a radon-safe home remodel.
Know What Remodels Can Change
Radon enters a home from the soil through openings and pathways in the lowest levels. Renovations can create new pathways or change existing ones. Foundation repairs, new slab penetrations, drain work, and sump changes can open routes that did not exist before. Air sealing, new windows, and upgraded insulation can also trap more indoor air and change the balance between fresh air and indoor air.
Many renovation choices affect three practical factors that shape radon indoors. The house can pull more soil gas in, hold that gas longer, or concentrate it more because of new airflow patterns.
Test Early Enough To Guide Decisions
A remodel schedule moves fast once contractors start, so take a radon test early in the planning stage. Use the result as a baseline so you can spot changes after the work finishes. If you already know the home has elevated radon, you can build mitigation steps into the renovation plan instead of treating them as a surprise add-on later.
If the remodel involves major changes, you may decide to wait to run a long test until after the work finishes. Still, many homeowners spend time in the basement during renovations, so talk with a qualified professional about practical testing choices based on how you use the lower level.

Treat the Basement Like a Pressure System
Remodel plans often focus on finishes, but radon control often starts with pressure control. Mechanical upgrades can change how the home pulls air from the soil. A new high-efficiency furnace, new bath fans, a powerful range hood, or different duct layouts can all change pressure dynamics.
Ask the HVAC contractor how the new setup will move air from the lowest levels to the upper floors. If you plan a finished basement, think about supply and return placement and how doors and rooms will affect air mixing. A finished basement often becomes a daily living space, so a small change in radon can matter more simply because people spend more time there.
Plan Penetrations Before the Slab Gets Busy
Many remodels add new plumbing lines, new floor drains, island vents, or electrical conduit through the slab. Each new penetration can create a new leakage point if a contractor leaves gaps around pipes. You can prevent a lot of frustration by marking every planned penetration on drawings and reviewing the sealing approach with the team.
Foundation work deserves special attention. Crack repairs, sump modifications, and drain tile work can all change how soil gas moves under the slab. When trades coordinate, they can seal penetrations cleanly and avoid rework after new flooring goes down.
If You Already Have a Mitigation System, Protect It
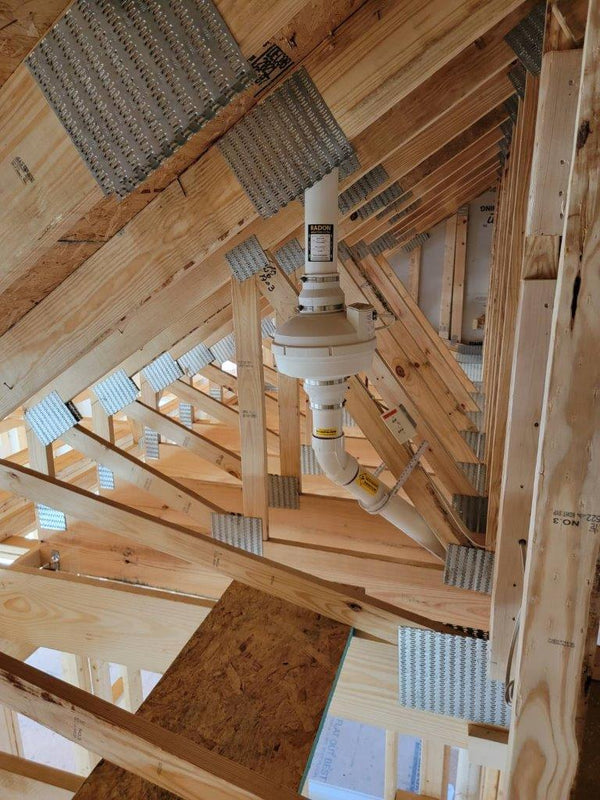
A working mitigation system can keep performing through a remodel, but contractors need clear direction. Tell every trade where the piping runs, where the fan sits, and where the discharge exits. If a contractor moves a wall or builds a soffit, that contractor can accidentally pinch a pipe run or reduce service access.
If the remodel involves attic work or roof work, confirm that the exhaust route still meets local requirements and typical clearance expectations. If the remodel changes the exterior, confirm that siding crews and window crews do not box in or damage the discharge.
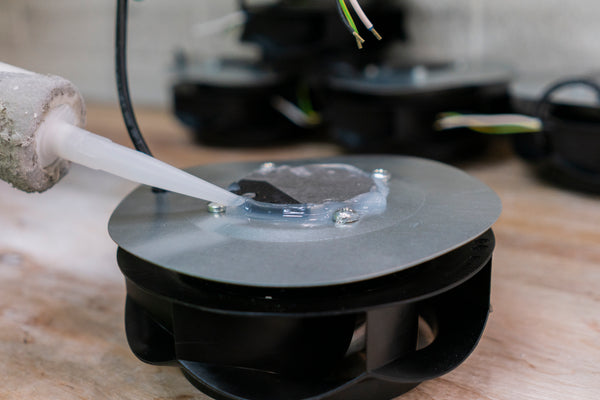
At some point in the project, you may need to upgrade or replace the radon remediation fan to match a new layout, longer piping runs, or added bends. A remodel often creates the perfect moment to place the fan where it runs quieter and where technicians can reach it for service.
Use the Remodel Window To Add Smart Radon Features
Some upgrades cost less and go in more easily when walls stay open. Consider a dedicated electrical outlet for the mitigation fan if you do not already have one. Consider routing that supports a clean vertical run and easy condensate management. Add a visible system indicator if your setup supports one, since homeowners often spot performance issues faster when a quick status check feels simple.
If you plan an addition, treat it like a new radon zone. An addition can introduce a new slab, new footings, and new pathways, even when the original home tested low. Build radon-resistant features into the plan before concrete cures and finishes hide everything.
Watch the Order of Operations
Project sequencing can make or break air sealing and slab work. If painters and flooring crews arrive before a plumber finishes core drilling, you can end up with messy patching and weak sealing. Coordinate so slab penetrations happen early, sealing happens right after, and finish work happens last.
Remodel dust and debris can also clog ventilation paths and create strain on mechanical components. Keep mechanical areas accessible and keep contractors from storing materials in front of key equipment. Clean utility spaces at major milestones, especially before you test after the remodel.

Retest After the Remodel Finishes
Many homeowners stop thinking about radon once the last box moves in, but the post remodel test matters. Treat the new result as the real baseline for the finished home you now live in.
Choose a testing approach that matches your timeline and how you use the space. If you remodeled the basement into a family room, place the test in that lived-in area under normal conditions. Keep windows and doors in their usual positions for the season and avoid running unusual fans that do not reflect everyday life.
If the New Test Comes Back High
A high result after a remodel can feel frustrating, but you still have clear next steps. Start by confirming the conditions during the test and run a follow-up test if needed. Then talk with a certified radon professional about mitigation options that fit the remodeled layout.
If you planned ahead, the home may already have a straightforward path for a clean pipe route. That preparation can reduce disruption and speed up installation.
Keep the Tone Practical With Your Contractors
Most remodel teams want to do the right thing, but the team needs specific direction. Share the plan for permeations, sealing, and any existing mitigation piping. Ask contractors to flag unexpected cracks, gaps, or water entry points when they open walls or work on the slab. Simple communication can prevent a small oversight from turning into a complicated fix after drywall.
A radon-safe remodel starts with the same mindset as a well-run renovation. You plan early, you coordinate trades, and you measure results when the dust settles. By testing at the right times, thinking about airflow and pressure, and protecting or upgrading key mitigation components during open wall phases, you can finish the project with a home that feels better in every way. When you retest after completion and act on what you learn, you turn a remodel into a long-term upgrade for comfort and peace of mind.