

Preparing To Mitigate Radon, All You Need To Know
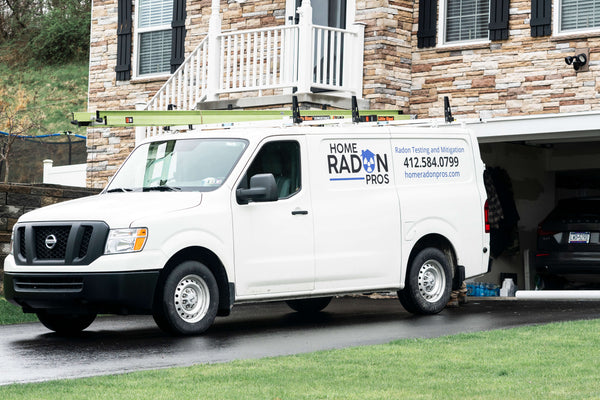
If you have determined that you need a Radon mitigation system, either because you are selling your home and the buyers did a Radon test and it came up high, or because you tested for your own family’s heath and safety, I will tell you what the process should look like. First of all, it is not nearly as daunting as it might first seem. Most areas of the country have numerous qualified Radon professionals to choose from. We would recommend that, if possible, you contact three of them for estimates. Some of them will require a visit to your home to evaluate what system requirement that you might have. Others may be comfortable asking you a series of questions over the phone and viewing you home on Google Earth or something similar. It is for you to determine which method works best for your schedule and comfort level etc. There are a number of considerations in selecting a contractor. Some of them are guarantee/warranty, availability, ability to provide local reference, cost, and level of comfort that you have regarding how your interaction went with them. I will tell you that the cheapest is rarely the best option. A Radon system is addressing a health concern and it is a permanent addition to the home. The best approach is using a contractor that comes across as honest and knowledgeable. I would find one that certainly guarantees to bring the Radon down below the action level of 4pCi/L but I would also gravitate to the one whose approach is to reduce the Radon to the lowest levels achievable.
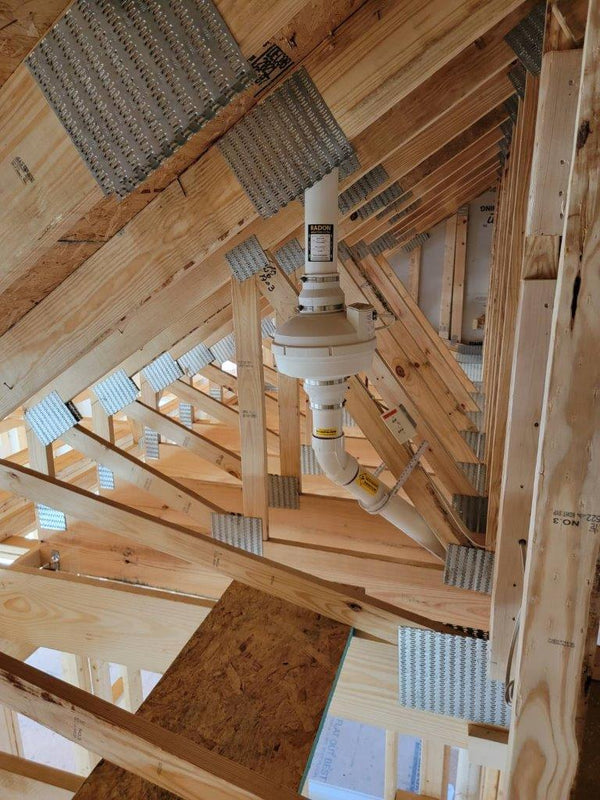
This has a lot to do with how many drop points (penetrations) they put in the slab, what performance level of Radon fan they use, and how large a void they create beneath your slab. These are the contractors that are willing to take their time and engineer the best system possible. Others, you might find, are trying to just get by on the Radon levels and get in and out as quickly as possible. Once you have selected your Radon professional and your installation date has arrived this is what you can expect. A typical Radon system installation takes between half a day and a full day typically, depending on how involved your system is and how your home is constructed. There is some drilling involved, both to core your slab and to exit your home but, for the most part, the installation will not be noisy or disruptive. A conscientious contractor will clean up the areas where they worked and leave your home exactly as found. When the system is complete, the Radon contractor should walk you though what they have done and explain to you how the system works and functions. They will install a device on your system called a manometer (also, often called a U-Tube), which is a U-shaped glass tube with liquid in it. It is installed on the system to tell you that it is running or functioning mechanically. When the Radon fan is running, it will pull the liquid in the tube higher on one side and that is an indication that the fan is working properly. If the liquid is level and the lines are across from one another there is a label telling you that you should contact your contractor. It should be explained to you, at that point, that the Radon system is working instantly, as soon as it is turned on, to prevent Radon from entering your home. The final step will be to perform a Radon test following the installation. You must wait 48 hours for the Radon that came in prior to turning on the system to dissipate, but following that you will be in a position to determine if the Radon system is effective at reducing the Radon below the action level or if additional steps are required. Many Radon professionals will perform a Radon test following the mitigation as a courtesy. Some others will recommend that you get an independent third party to come in and perform the post mitigation test. A third choice is for them to leave you a do-it-yourself Radon test kit. These are very reliable and you can be confident in their results if this is the route that you go.
It is never a bad idea for you to perform one of these do-it-yourself Radon test kits even if your contractor performed their own test following the mitigation. This second test can be used for your own peace of mind and to confirm their test results. There are also several manufacturers that make consumer model continuous radon monitors. These range from $130 to $200. They are simple to use. They plug into a standard receptacle in your basement and monitor the Radon levels on an ongoing basis. Some have a digital screen while others give you a reading via an app on your phone. I happen to think that these are a very good idea and allow you to check what your levels are at any given time. The bottom line is that Radon mitigation systems are very good things to have. They are relatively painless to install and can generally be completed in a day or less. The Radon industry has many qualified contractors to chose from and so, if your home should test high for Radon, the solution will be there for you to have it quickly resolved and to make your home as healthy and safe as possible for your family.