Ways To Prepare Your Home for a Radon Test
While some tests require intensive study and reading, radon tests require a different course of action. Preparing for a radon test—whether you do it yourself or have a technician stop by—shouldn’t be as nerve-wracking and labor-intensive as a final exam. It does require a bit of preparation in advance, however. Here are a few ways to prepare your home for a radon test.
Do a Little Research
The best way to alleviate your concerns is by reading up on the subject of radon gas. There’s plenty of information out there about radon testing and mitigation. You’ve taken a great first step by reading this blog! Explore the rest of this site for further details on radon, how to detect it, and what you can do to reduce the danger of radon poisoning. Once your curiosity has been satisfied, move on to the next step.
Sealing Your Home
Seal up your home as best you can. Don’t think in terms of hermetically sealing it inside and out—that would be extremely dangerous. Twelve hours before conducting the test, close all the windows and doors. If there’s weather stripping and caulk sealant in place, all the better. Naturally, enter and exit your home as needed, but try to reduce the number of times you and your family go in and out.
The purpose of sealing your home is to prevent radon from leaking out, which can cause an inaccurate reading during the test. Turn off any fans that bring air in or out of the home, but maintain your normal heating and cooling habits. You’re trying to measure your home under regular conditions. As a tip, winter is the best time to test since you likely keep the doors and windows closed more often.
Place the Testing Device
Follow the accompanying instructions on the testing device’s placement, but standard operating procedure dictates putting it in the basement, cellar, or the lowest level of your home. Don’t put it in overly humid areas or damp places. The environment can cause the device to deliver an inaccurate reading. EPA standards dictate placing the detector about 20 inches above the floor. Ensure the device won’t be affected by cool drafts, high temperatures, appliances that become warm or hot, sunlight, or other external factors. Put it somewhere away from windows and walls, as they may have nearly invisible cracks that can bring in fresh air and affect the radon reading.
Hands Off!
Let everyone in the house know that the detector mustn’t be touched! Children and pets especially need to avoid the device since they can unwittingly jostle it, knock it over, or otherwise damage it. Don’t be tempted to pick it up to “see how it’s doing.” Radon detection is a long process, and the detector must be left alone to do its work.
Keep your home sealed for the duration of the test, which can last between two days and a week. If this is a difficult situation, consider scheduling the test during a vacation, or spend a few days elsewhere while it takes place. Once it’s over, pack up the device and send it to the specified address for testing.
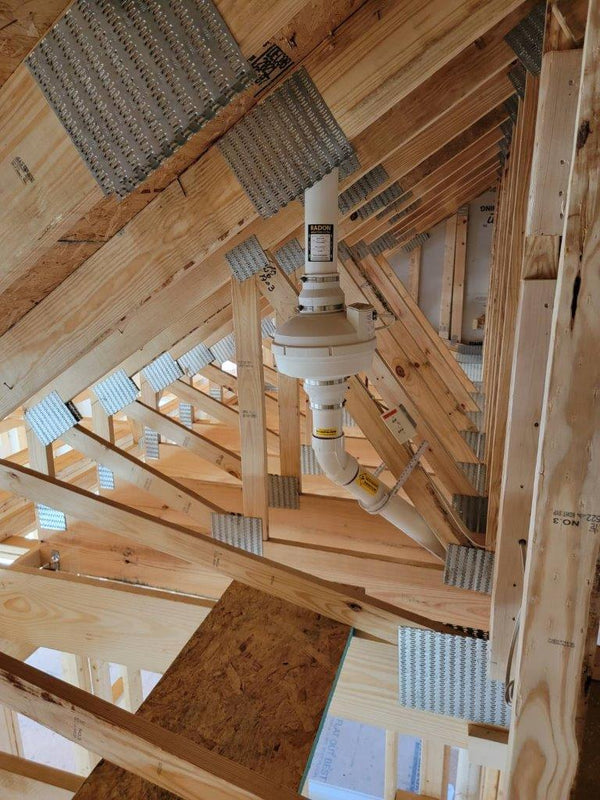
Those are some ways to prepare your home for a radon test. If you have questions about the process, contact us for answers. In the event your home shows a high degree of radon, talk to us about how our radon mitigation kits can make your home safer.


