


What Are the Components of a Radon Mitigation System?
Radon can enter a home through the lowest levels of the structure. Homeowners often hear they need a radon mitigation system, but they may not know what it includes or how each part works. A strong system does more than move air through a pipe. It creates a controlled pathway that draws soil gas from beneath the home and vents it outdoors, where it can disperse.
Most residential systems use active soil depressurization. In simple terms, a fan creates suction under the foundation, and connected piping carries radon away from the living space. Each component supports that process. When every part fits the home, the system can lower indoor radon levels and make monitoring easier over time. Continue reading to explore the components of a radon mitigation system.
The Suction Point
The suction point starts the process. A radon professional cuts an opening in the lowest part of the home, often through a basement slab, crawl space membrane, sump cover, or drain tile connection. This opening gives the system access to soil gas beneath the foundation.
The location depends on the home’s foundation, soil conditions, and layout. Some homes need one suction point. Larger homes, tight soil, or complex foundations may need more than one. The installer uses diagnostic testing and field experience to choose a location that gives the fan a strong path to draw air from below the home.
The suction point must connect tightly to the piping. Gaps around the opening can weaken suction and allow unwanted air to enter the system. A clean, sealed connection helps the fan pull from beneath the slab instead of pulling conditioned air from inside the home.
The Piping
The piping carries radon from the suction point to the outdoor discharge location. Most systems use durable PVC pipe because it withstands constant airflow, resists corrosion, and provides long service life. The pipe diameter depends on the fan size, suction requirements, and home layout.
Good pipe routing helps the system run smoothly. A straight, simple route reduces resistance and allows the fan to move air efficiently. Long runs, tight bends, and poor connections can make the system work harder than necessary. A professional layout also keeps the system neat, serviceable, and easier to inspect.
Piping can run through the interior of the home or along an exterior wall. Interior routing can protect the pipe from weather and improve its appearance. Exterior routing can work well when the home layout makes indoor routing difficult.

The Radon Fan
The fan powers an active radon mitigation system. It creates negative pressure beneath the foundation, drawing radon-laden soil gas into the piping. The system then vents the gas outdoors before it can enter the living space.
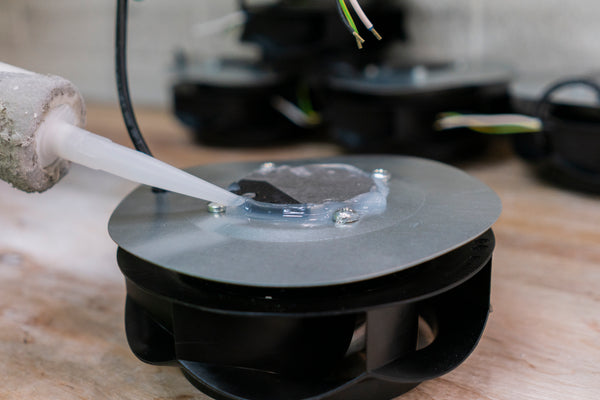
Radon fans differ from common household fans. Manufacturers build them for continuous operation, moisture exposure, and steady airflow through a sealed pipe system. The right fan must match the home’s conditions. A small home with easy airflow under the slab may need a different fan than a large home with dense soil or multiple suction points.
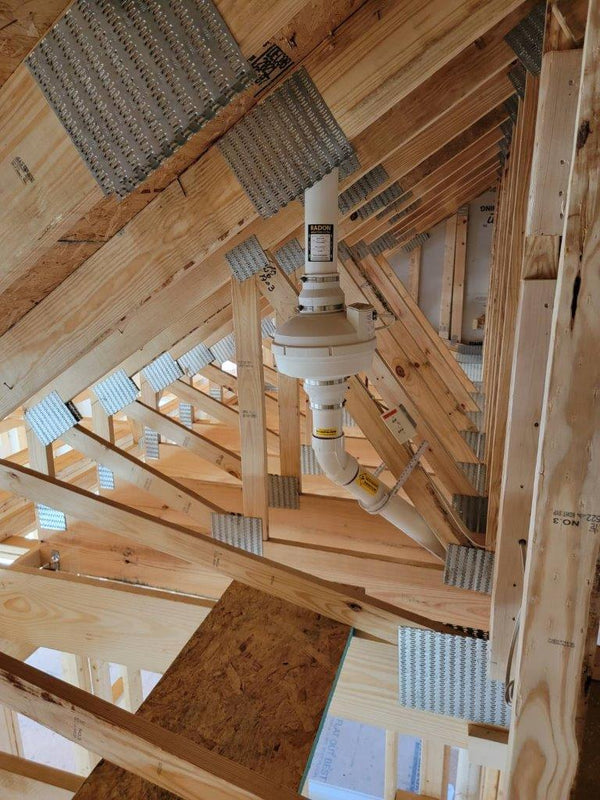
Fan placement also deserves attention. Installers place radon fans outside the living area, often in an attic, garage, or outdoors, depending on local codes and system design. This placement helps reduce the risk that a pipe leak on the positive-pressure side could release radon into occupied rooms.
The Fan Cover
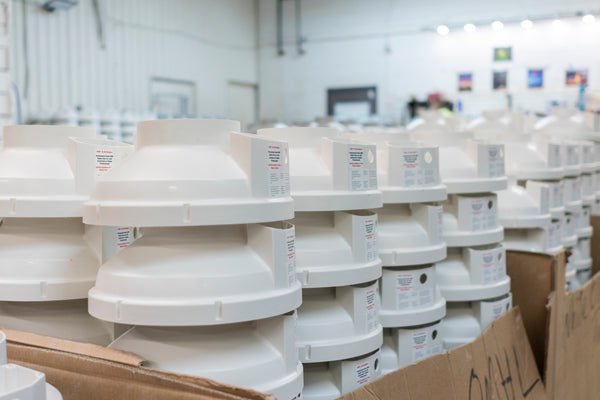
Outdoor fans face sun, rain, snow, wind, and temperature swings. A protective cover can help shield the fan and improve the finished look of the system. Homeowners who want a cleaner exterior installation often choose an exterior radon fan cover kit because it protects the fan housing while helping the system blend better with the home.
A cover should fit the fan and allow proper airflow. The fan still needs room to operate, release heat, and remain accessible for service. A well-chosen cover supports protection without creating unnecessary restrictions. It can also help reduce visual clutter on the side of the home.
The Emission Point
The emission point releases radon outdoors. The vent pipe usually extends above the roofline or to an approved termination point that keeps exhausted gas away from windows, doors, decks, and other openings. This placement helps the gas disperse into outdoor air instead of drifting back inside.
This location must comply with accepted radon standards and local requirements. Poor placement can create avoidable problems, even when the fan and suction point function properly. A properly placed outlet completes the airflow path and helps the system move radon away from the home.
The end of the pipe also needs a clean, open path. Caps or covers that block airflow can reduce system performance. Installers typically use discharge details that keep debris out without trapping the air the fan needs to move.
Sealed Openings
Sealing supports the mitigation system, but it alone rarely resolves an elevated radon problem. Cracks, slab joints, sump lids, utility penetrations, and crawl space membranes can allow soil gas to enter the home. A radon professional seals those openings to help the fan draw more effectively from below the foundation.
Sealing also helps control air movement. When the system draws less indoor air, it can focus more suction beneath the slab or membrane.
A crawl space requires special attention. Installers often place a durable vapor barrier over exposed soil and seal the seams, edges, and penetrations. The suction pipe then draws air from beneath the barrier. This approach creates a defined pressure zone under the membrane.

The Manometer
The manometer gives homeowners a simple way to see whether the fan creates suction. Many systems use a U-tube gauge mounted on the pipe near the fan or another visible area. The fluid levels show a pressure difference, not radon levels.
A homeowner should note the normal reading after installation. If the reading changes sharply or both sides of the gauge are level, the fan may have stopped, or the system may have a blockage or leak. The manometer does not replace radon testing, but it provides a quick visual check in everyday use.
Power and Testing
The radon fan needs a reliable power source. A proper electrical connection supports continuous operation and reduces nuisance shutdowns. Homeowners should not unplug the fan to save energy or reduce noise because the system only reduces radon while the fan runs.
Testing confirms how the home responds after installation. A radon test measures indoor levels, while the manometer only shows that the fan creates suction. Homes change over time as they settle, undergo renovations, or receive HVAC updates. Periodic testing helps homeowners spot changes before concerns grow.
A System That Works Together
A radon mitigation system works best when every part supports the same goal. The suction point collects soil gas. The piping carries that gas away. The fan powers the airflow. The discharge point releases the gas outdoors. Sealing, monitoring, labeling, and maintenance help the system keep doing its job.
Homeowners don’t need to become radon experts to understand the basics. They only need to know what each component does and why careful design counts. With the right parts and a thoughtful installation, a radon mitigation system can create a cleaner, more controlled path for soil gas and help protect the air inside the home.