

What Equipment Is Necessary for Radon Mitigation Systems?
Radon poses a serious health risk in homes across America, with the EPA estimating that radon causes tens of thousands of lung cancer deaths each year. If you've discovered elevated radon levels in your home, installing a mitigation system should be a top priority. But what equipment is necessary for radon mitigation systems to work effectively?
This comprehensive guide walks you through every piece of equipment required for effective radon mitigation, from the basic tools to specialized components. Whether you're planning to hire a professional or tackle this project yourself, understanding the essentials ensures you get a system that performs reliably for years to come.
Miscellaneous Tools and Safety Equipment
Before diving into the specialized components, you'll need standard tools and safety equipment to complete the installation properly.
For the installation work itself, gather these essential tools:
- Power drill with various drill bits for creating holes in concrete and wood
- Reciprocating saw for cutting through structural elements and PVC pipe
- Caulk gun for applying sealants
- Sturdy ladder for accessing hard-to-reach areas
- Screwdriver set for securing mounting hardware
- Adjustable wrench for tightening pipe connections
Essential safety equipment includes:
- Gloves to protect your hands from sealants and rough surfaces
- Safety glasses to shield your eyes from debris during drilling and cutting
- Respirator mask rated for particulate matter
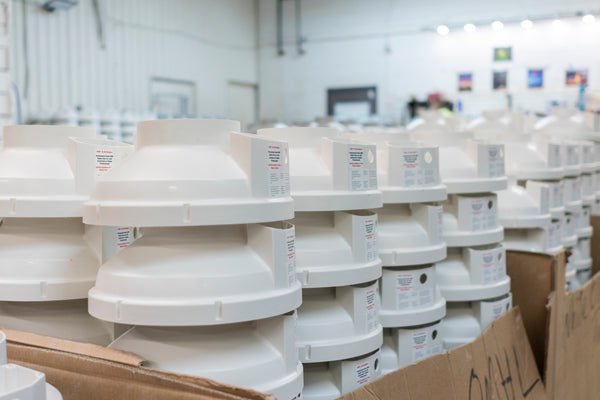
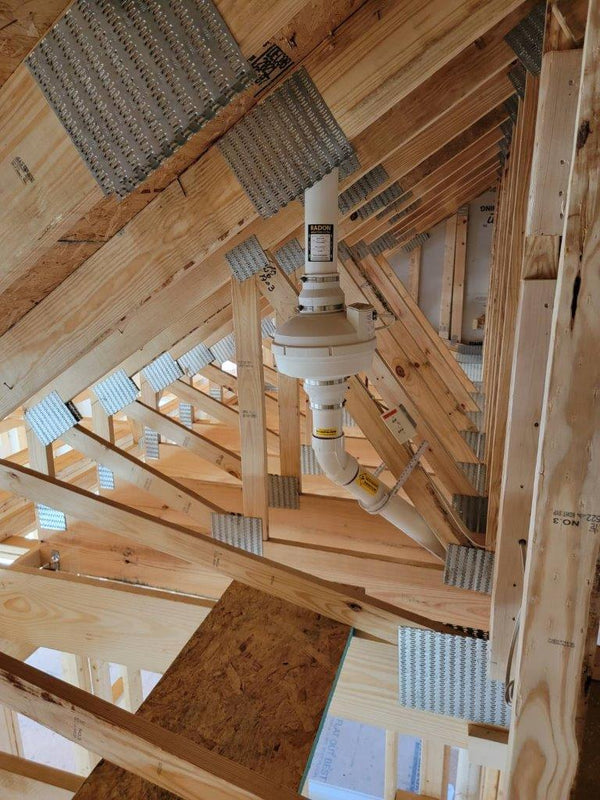
Radon Fan
The radon fan serves as the heart of your mitigation system. This specialized fan creates the suction necessary to draw radon gas from beneath your home's foundation and vent it safely outside, where it disperses harmlessly into the atmosphere.
Radon fans are designed to run continuously, 24 hours a day, 365 days a year, which requires exceptional durability and energy efficiency. Yet, most quality radon fans consume about as much electricity per year as a 60-watt light bulb.
When selecting a radon fan, consider your home's size, foundation type, and soil conditions. Fans come in different capacities, measured in cubic feet per minute (CFM) and max pressure (inches of w.g.). Homes with high radon levels or challenging soil conditions may require more powerful fans.

PVC Piping, Couplers, and Mounting Brackets
The piping system channels radon gas from the suction pit beneath your home’s foundation slab, to the radon fan, and then to the exterior vent point. This network requires careful planning and quality materials to function effectively.
Schedule 40 PVC pipe is the industry standard for radon mitigation systems. The thickness of Schedule 40 pipe walls provides excellent durability and resistance to the continuous suction created by the radon fan. When selecting pipe diameter, you’ll want to use 3- or 4-inch PVC/ABS pipe, as this is standard for radon mitigation systems.
Couplers connect pipe sections to the fan and allow for directional changes in your system. Fernco couplers work well, as they provide airtight seals that prevent system leaks.
Mounting brackets for PVC pipe allow you to secure the piping system to floor joists, walls, and other structural elements. Proper support prevents sagging and maintains the system's integrity over time. Space brackets appropriately to support the pipe's weight and resist vibration from the fan.
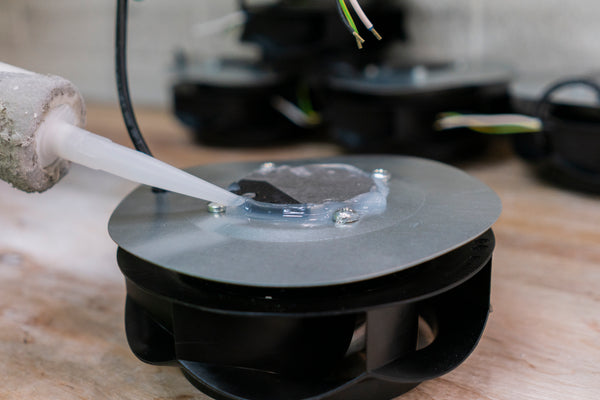
Sealing Materials
Effective sealing prevents radon from entering your home through foundation cracks and gaps while also supporting the suction created by the radon fan. The quality of your sealing work directly impacts system performance.
Pay special attention to sealing around pipe penetrations, foundation cracks, and areas where different building materials meet. These locations often provide the easiest paths for radon entry.
- Fill larger holes and gaps with backer rods before applying caulk. These foam cylinders provide backing for the caulk and help achieve a proper seal depth. Without backer rods, caulk in large gaps may not cure properly or may pull away from surfaces.
- Use caulks and sealants specifically designed for radon mitigation. These products maintain flexibility over time and resist the temperature fluctuations common in basements and crawl spaces.
Manometer
A manometer monitors your radon mitigation system's performance by measuring the pressure difference the fan creates. This U-shaped pressure gauge provides visual confirmation that your system is operating correctly.
Install the manometer on the vertical section of piping between the suction point and the fan. The device connects to the pipe through a small hole and tubing. When the system operates correctly, the manometer shows a consistent pressure difference.
The manometer is also a helpful diagnostic tool that can provide troubleshooting solutions if the home's radon levels are still high after the system is installed. For instance, if the levels are still high and the manometer is showing near max pressure (little to no airflow), it could indicate that you need a larger suction pit or a different fan. If the manometer levels are too low, it could indicate that the fan is pulling air from the outside or that you need a larger fan.
Check the manometer regularly, especially during the first few months after installation.
Vent Cap and Roof Flashing
The vent cap protects the end of the vent pipe from debris and weather without hindering the airflow that allows radon gas to escape.
Roof flashing creates a waterproof seal where the vent pipe penetrates the roof. This critical component prevents water damage and maintains the roof's integrity. Consider hiring a radon mitigation professional or a roofing contractor for this portion of the installation if you're not experienced with roof work.
Electrical Wiring
Proper electrical connections ensure your radon fan operates continuously and reliably. The fan requires a dedicated electrical circuit with appropriate protection.
Most radon fans operate on standard 120-volt household current and draw minimal amperage. However, the electrical connection must comply with local building codes and provide reliable power. If you need to install a dedicated outlet or switch, always hire a licensed electrician. It’s best to avoid using GFCI outlets if possible, as these outlets can trip unexpectedly and interrupt the radon fan’s operation.
Radon Test Kit
Testing confirms your mitigation system's effectiveness and helps you monitor radon levels over time. Test radon levels 24–48 hours after activating your mitigation system, then again after 30 days. Continue testing periodically to ensure continued effectiveness.
- Short-term test kits provide results within 2–7 days and help verify immediate system performance.
- Long-term test kits measure radon levels over 90 days or more, providing a more comprehensive picture of your system's effectiveness.
- Continuous radon monitors like the EcoBlu and EcoQube offer real-time radon level readings. These devices help you track system performance and identify potential problems quickly. While more expensive than disposable test kits, continuous monitors provide ongoing peace of mind.

Additional Items Required for Some Types of Mitigation Systems
Some mitigation systems require specialized components based on your home's construction and the mitigation approach used.
- Sump covers: These covers allow homes with sump pits to use the existing sump pit and drain tile system to collect and vent radon gas. Gaskets and sealing materials ensure an airtight seal around these penetrations.
- Vapor barrier: These specialized plastic sheets cover the crawl space floor and walls. They’re a key component of the crawl space encapsulation method for radon mitigation.
Protecting Your Family With Proper Equipment
Understanding what equipment is necessary for radon mitigation systems empowers you to make informed decisions about your home's safety. Quality components working together create a system that protects your family.
While having the right equipment is essential, proper installation and system design determine ultimate effectiveness. Whether you handle the project yourself or hire a pro, investing in quality equipment protects your family from this invisible health threat for years to come.